|
|
Post by keltheos on Mar 12, 2008 23:39:32 GMT -5
I posted this originally on another game's forums (which will be patently obvious below), but thought folks might find it useful here as well. Helped me make the most of my photos when I wanted a good quality shot without dropping serious coin on a diffusion box I couldn't store out of the way...
|
|
|
|
Post by keltheos on Mar 12, 2008 23:39:56 GMT -5
Ok, after realizing that my pics were causing a good deal of trouble with the great paint jobs Arkentyre had sent me I decided to go about learning how to use my camera more effectively as well how best to light my pictures. What follows are my adventures in macrophotography. Diffusion Box 101Steps: 1. Take some terrible photos, post them on the Internet, then brace yourself for the criticisms. If you need to look again, go back to page 1 of this thread… 2. Talk to a couple Brushthralls for some tips, then take a look at this site: <bummer, the site with the diffusion box I'd first seen is offline now, so when I talk about the Dragon box that's what I'm referencing.> 3. Go to a local crafts store (Michael’s in my case) and purchase the following: ** A 20” X 30” sheet of Foamcore ** Semitranslucent parchment/vellum 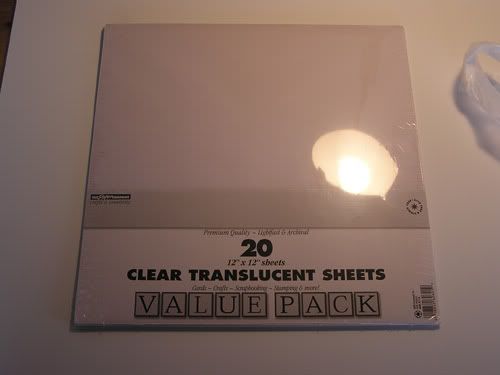 ** Thumbtacks 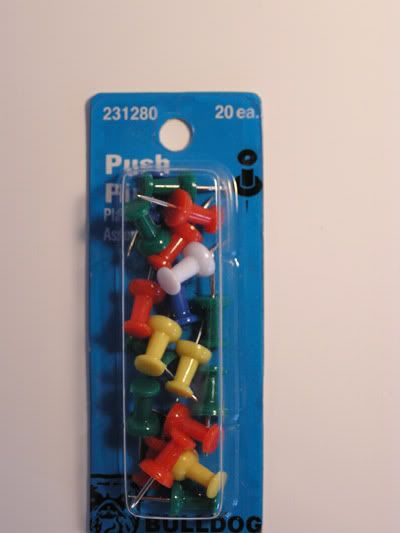 ** Stretch Frames X2. I bought the materials for two 12" X 10"  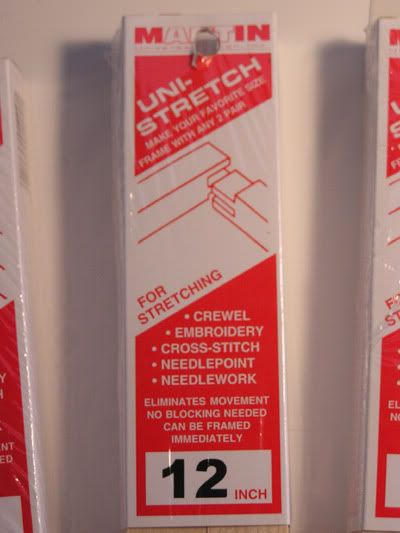 Grand Total: About $24. Grand Total: About $24. |
|
|
|
Post by keltheos on Mar 12, 2008 23:40:25 GMT -5
4. Assemble the stretch frames. Since they’re intended for quick assembly, these things are a snap to put together. 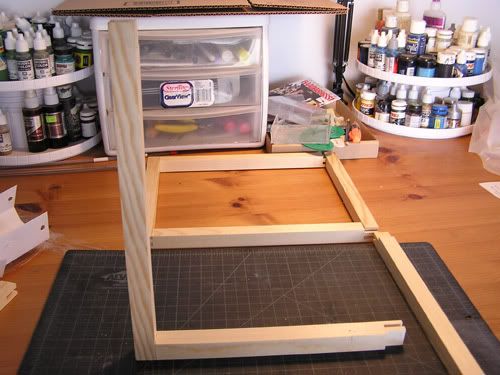 A word of caution, just like checking out models in a blister for mold lines; be sure to look at the cut joints in the packages before you buy. Rough cut joints don’t fit together quite as well as smooth cuts. Nothing a quick tap or two with a hammer couldn't solve, but why have to solve the problem in the first place?  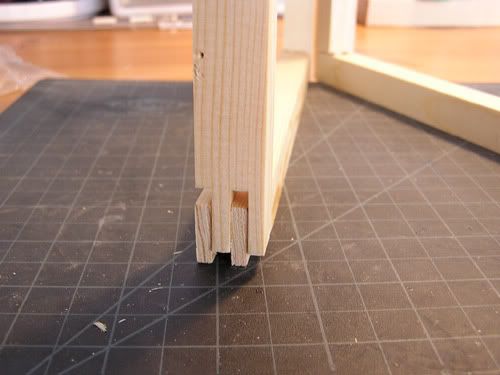 versus 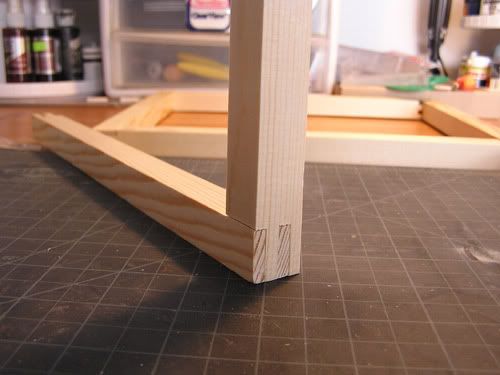 The finished frame. You’ll need two of these. My frames are 12” X 10” 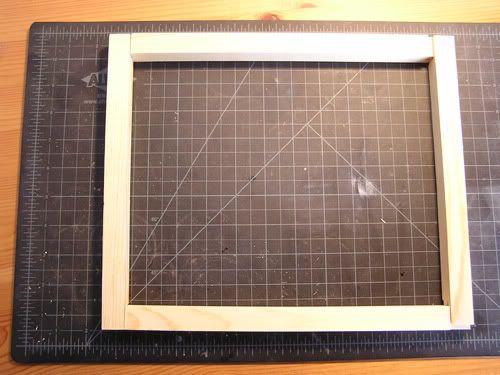 5. Cut a piece of parchment to fit the frames.  6. Thumbtack it in for now. This way you can always go back and change out parchment paper if it gets dirty, cut, scratched. I had hoped to find different paper sizes, but everything at the store was designed for scrapbooking with clouds or some other faint pattern on them. In the end, I bought the pack and figured I’d get some use out of it eventually. 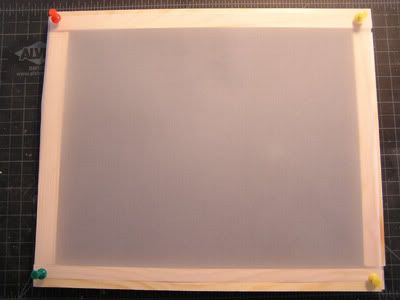 |
|
|
|
Post by keltheos on Mar 12, 2008 23:40:59 GMT -5
7. Cut the foamcore. I cut the foamcore into two pieces, 12” X 20” and 18” X 20”. The larger piece will serve as my backdrop while the smaller one will be the booth’s base. The wider backdrop will allow me to slide the panels closer or further from the miniature(s), depending on what I’m shooting. 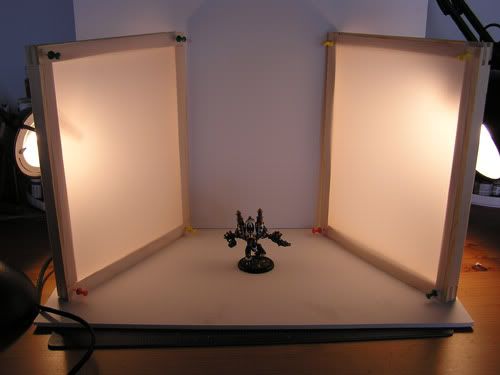 Assembly time: about 20 minutes including pictures. Assembly time: about 20 minutes including pictures.9. Take test shots. Here’s one. 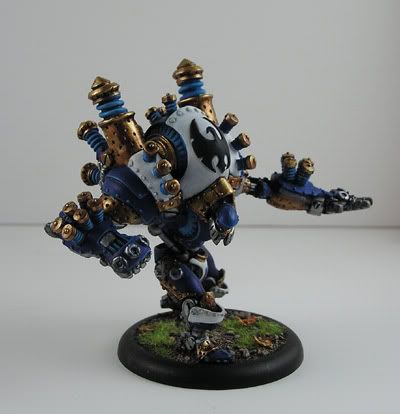 10. After shooting about 30 test shots with frames BACKWARD (see picture 7 above) and the light coming from behind the models, try again…the booth should have the front of each side angled INWARD like this photo demonstrates (or if you'd remembered how the Dragon booth was set up... <_< ) 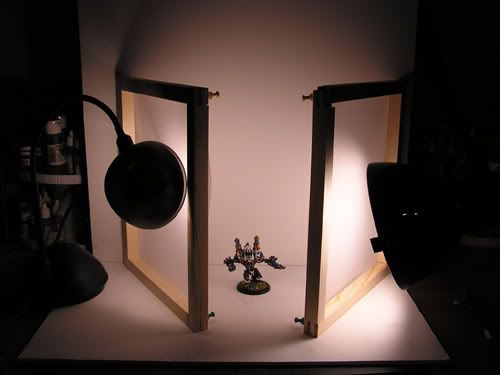 |
|
|
|
Post by keltheos on Mar 12, 2008 23:41:47 GMT -5
After fixing that problem I shot several images while messing around with the aperture and shutter settings. My next steps, an off-white background to photograph against, the Dragon site has a printable one, need to print that out. Also, another lamp. I’ve noticed that the light coming in from my left isn’t quite as strong, and you’ll notice above that I’m using two different lamps. I might add a third above and drop a diffusion panel there as well, but I’m going to mess around with this for a bit first. In the meantime, here are a few samples…better, huh? 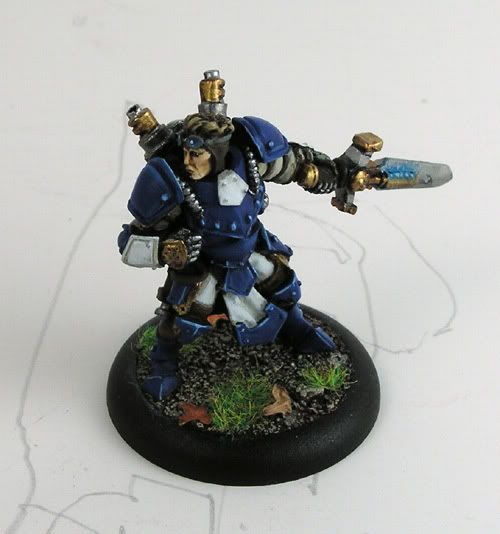 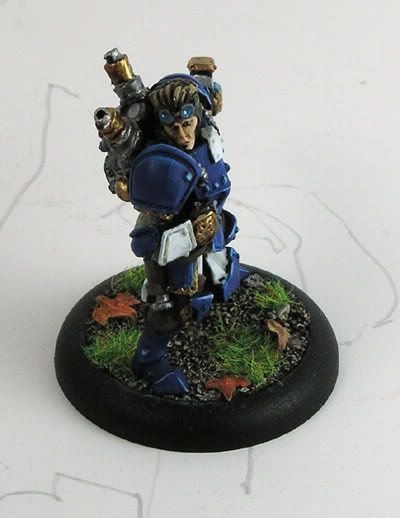 As the JWC and the closeup of Stryker's face below demonstrate, still monkeying with the balances... <Face shot deleted> 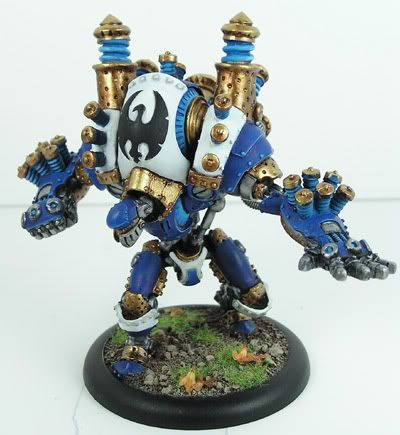 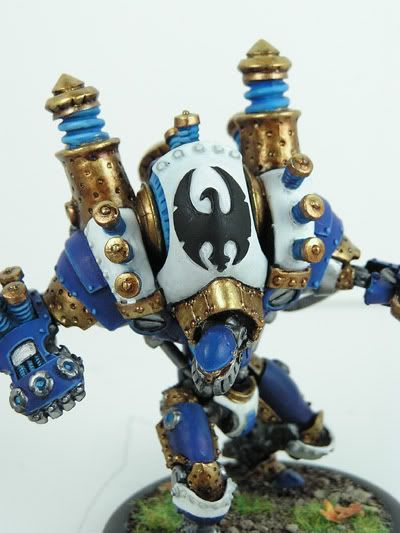 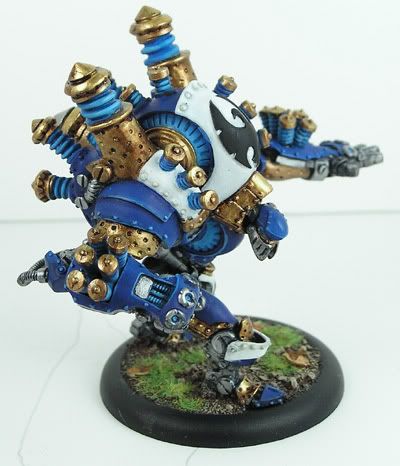 This one’s a paint job from Dead Dogg. 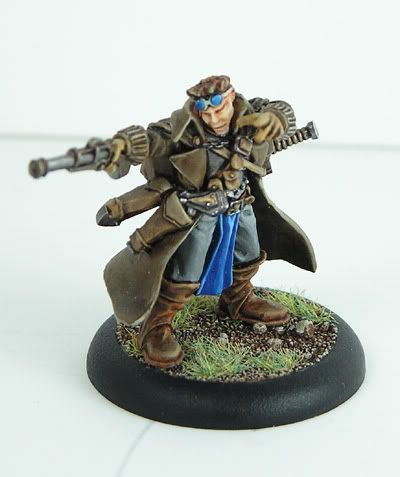 |
|
|
|
Post by Darkson on Mar 13, 2008 0:29:00 GMT -5
Sweet. I am going to have to build one for the shop. ;D
|
|
|
|
Post by ake on Mar 14, 2008 2:02:57 GMT -5
Currently I'm using the same set up. However I glued palstic bases to the bottom of the frames so they stand better. I also have a smaller frame balanced on top of the other two for a third overhead light. Combine this set up with this Photoshop article www.wyrd-games.net/showthread.php?t=385 and you can get great results. |
|